Indulge in Delicious Homemade Ice Cream Today!
Picture this: it’s a hot summer day and you’re craving something cold and refreshing. What better treat than a scoop of homemade ice cream? But wait – don’t reach for the store-bought pint just yet. I have a recipe that will take your taste buds to the next level. Say goodbye to boring flavors, and hello to coffee-infused, chocolate-chip studded, vanilla extract-laced, homemade ice cream. And the best part? You don’t need a fancy ice cream maker or any special equipment. All you need is a few simple ingredients and some coffee cans.
You might be thinking, “Homemade ice cream sounds too hard.” Trust me, it’s not. With my homemade ice cream in a coffee can recipe, making your own ice cream is both easy and fun. The process is simple and uncomplicated – you can even make it with your kids! And did I mention this recipe is versatile enough for you to customize with your favorite flavors?
So what are you waiting for? Dust off those old coffee cans, grab some ingredients from your pantry, and let’s make some ice cream!
Why You’ll Love This Recipe
Dear coffee and ice cream lovers,
Have you ever craved a sweet and cold treat on a hot summer day, but didn’t feel like leaving the house to buy ice cream? Or maybe you’re looking for a fun and creative activity to do with your kids or friends? Well, my dear readers, look no further because I have the perfect solution for you: homemade ice cream in a coffee can!
This recipe is not only incredibly delicious, but it’s also super simple and requires minimal ingredients. All you need is a few basic pantry staples like sugar, vanilla extract, and milk, as well as some specialty items like rock salt and instant pudding mix. But don’t let that fool you – these ingredients come together to create a rich and creamy ice cream that’ll knock your socks off.
And the best part? You can customize this recipe to your heart’s desire. Get creative with flavors by adding in coffee grounds, chocolate chips, or even fruit. Use half-and-half instead of whole milk for an extra indulgent texture. The possibilities are endless.
But wait, there’s more! Making this homemade ice cream is not only delicious but extremely fun! The process of shaking the coffee cans with the ice cream mixture creates a sense of excitement and anticipation that everyone can enjoy. Plus, it’s a great activity for children to get involved in.
So whether you’re looking for a new dessert to impress your dinner guests or a fun afternoon activity with your family, look no further than this homemade ice cream in a coffee can recipe. I promise you won’t be disappointed.
Sincerely,
Your fellow coffee-loving barista
Ingredient List
- 2 cups of milk
- 3/4 cup of sugar
- 1 teaspoon of vanilla extract
- 2 cups of half-and-half
- 1/2 cup of rock salt
Ingredients 2
- 1 pint of half-and-half
- 1 1/2 cups of heavy whipping cream
- 3/4 cup of sugar
- 1 teaspoon of vanilla extract
To make this scrumptious homemade ice cream, you will need to stock up on a few basic ingredients. The first set of ingredients includes milk, sugar, vanilla extract, half-and-half, rock salt. For the second recipe variant, the ingredients alternate a little bit – we’re using heavy whipping cream and half-and-half instead. Make sure to use cold milk and cream for the best consistency!
The Recipe How-To
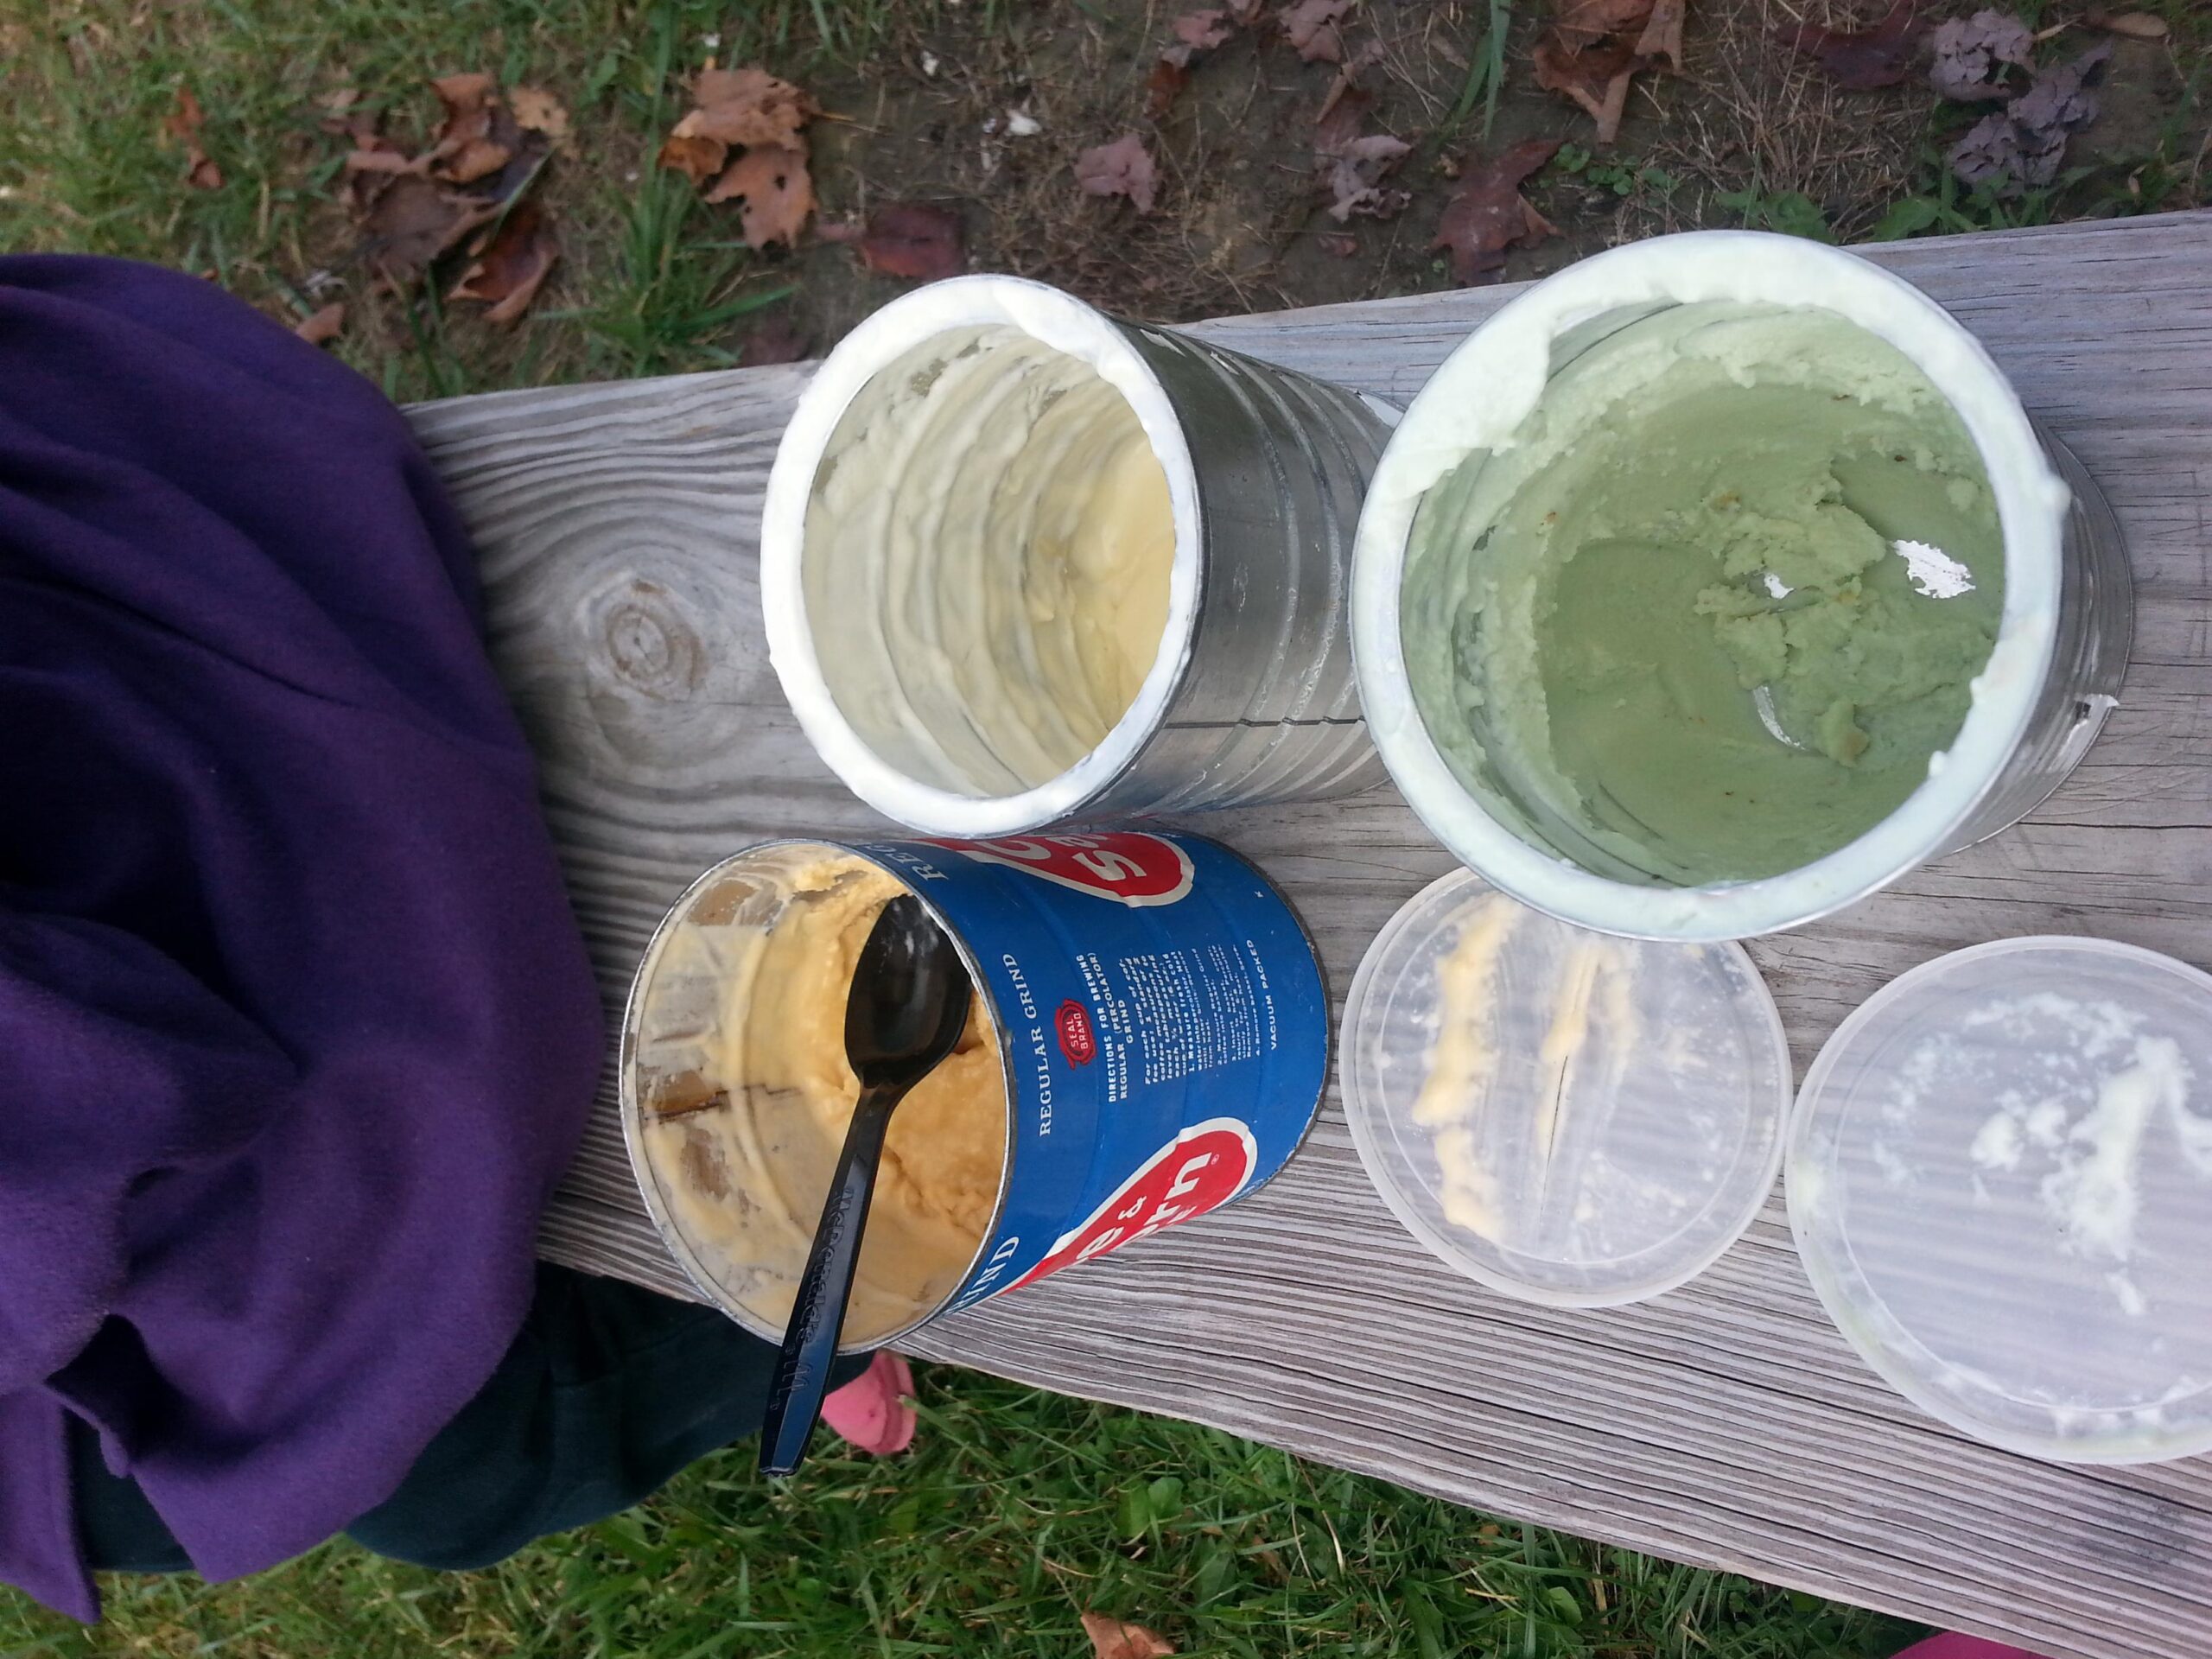
To make a delightful coffee flavored ice cream, you will need two empty and clean metal coffee cans (one bigger and one smaller), duct tape, lots of ice, rock salt, the ingredient list and willingness to put some elbow grease into making it. Here’s how you can make homemade ice cream with just a little bit of coffee and some simple ingredients.
Step 1: Prepare the Coffee Mix
Firstly, prepare the coffee mix by heating up 1 cup of milk in a saucepan. Add 2 tablespoons of instant coffee and stir well until it dissolves. Let it cool for a while. Meanwhile, in another bowl, combine 1 1/2 cups of half-and-half, 1/2 cup of sugar, and a teaspoon of vanilla extract or vanilla bean paste. Whisk everything until the sugar is fully dissolved.
Step 2: Mix the Ingredients
Pour this mixture into the cooled coffee mix, adding more sugar or coffee to taste if needed. Blend the mixture thoroughly using a hand mixer or blender until all ingredients are combined completely.
Step 3: Pour Mixture Into Smaller Can
Now pour this mixture into the smaller coffee can. The can should be around half full.
Step 4: Secure Duct Tape
Secure the lid tightly onto the can, and then wrap tightly with duct tape to create an “airtight seal.” This step is crucial because you don’t want any salted ice water getting into your ice cream mixture which will ruin its texture.
Step 5: Put Ice and Salt in Bigger Can
Take the bigger coffee can, fill it with ice cubes (up to about half-way) and add about a pound of rock salt or as recommended on your rock salt packaging. Put in enough that once you nestle your smaller coffee can inside with space all around it for ice – which acts as an insulator to keep everything cold.
Step 6: Nestle Smaller Can In Bigger Can
Nestle the smaller coffee can containing your delicious mixture safely inside your larger can surrounded by layers of rock salt and ice.
Step 7: Roll Back-and-Forth for at least 10 minutes then Check
Roll back-and-forth like a rolling pin over a dough on a work surface for at least ten minutes so that contents will thicken evenly as they freeze. After ten minutes check on it – most likely it’s still very liquidy but turning into cream slowly but surely.
Step 8: Add more Ice/Salt Around Cans – Keep rolling!
Add more ice/salt around cans followed by more rolling until mixture eventually thickens.
Step 9: Check Consistency
Check consistency after about an hour (it may take more or less time depending on temperature) when your homemade ice cream will have doubled in volume; scrape down frozen portions from sides & blend quickly so that once frozen parts won
Substitutions and Variations
Are you looking to add your own twist to this homemade ice cream recipe? Luckily, there are plenty of substitutions and variations that can be made to customize the flavors of your ice cream.
One easy way to switch up the flavors is by swapping out the vanilla extract for other flavor extracts. For example, if you’re a chocolate lover, try using chocolate extract instead. You can also experiment with adding different flavorings like mint or almond extract. Instant coffee or espresso powder can also be added to make a coffee-flavored ice cream.
Looking for a healthier version of this recipe? You can substitute in low-fat or non-dairy milk alternatives like almond or coconut milk. Pairing these substitutes with flavored extracts such as coconut extract can create tasty and unique flavors of ice cream.
For those looking for an indulgent treat, try adding mix-ins like crushed cookies or candy, chopped nuts, or fresh fruit. Chocolate chip cookie dough, peanut butter cups, or chopped strawberries all make delicious additions.
Lastly, consider using a different type of rock salt to add unique flavor notes to your ice cream. Pinching Himalayan pink salt onto the ice will add a hint of salty sweetness that complements caramel and nutty flavors while smoked salt adds the perfect touch in chocolate ice creams.
Have fun experimenting with different ingredient combinations, and you may even find your new favorite go-to ice cream recipe!
Serving and Pairing
One of the joys of making homemade ice cream in a coffee can is the versatility it provides in serving and pairing it with other treats. Once you have your delicious, creamy ice cream in hand, there’s nothing stopping you from pairing it with different desserts, drinks, or snacks for the ultimate treat.
For instance, if you love bold flavors and an extra kick, try pairing your coffee-flavored ice cream with some chocolate syrup drizzle or cacao nibs. Similarly, if you’re looking for a refreshing flavor pairing, serving a scoop of vanilla ice cream infused with instant coffee on top of a blackberry compote or jam may be just what you need.
If you want to get creative, use your homemade ice cream as an ingredient in different dessert recipes. You can churn up some coffee-flavored churros or vanilla ice cream sandwiches. The possibilities are endless!
When it comes to drinks pairing, nothing goes better than cold iced coffee with coffee-flavored homemade ice cream or milkshakes made with chocolate and vanilla ice cream. Also, for a more sophisticated palate, pairing your homemade creation with some high-quality espresso shots and alcohol can be a game-changer.
Ultimately, making homemade ice cream is all about having fun with flavors and exploring new combinations. So grab a spoon and let your taste buds guide you!
Make-Ahead, Storing and Reheating
As a barista, I love to make things ahead so that I can enjoy them later without any fuss or mess. This homemade ice cream in a coffee can is no different! You can easily make it ahead of time and store it for later use, or even reheat it if needed.
To make ahead, simply follow the recipe instructions as normal, then once the ice cream has been churned and frozen, remove it from the coffee can and place it into an airtight container. Store the ice cream in the freezer until you’re ready to use it.
To reheat, take the ice cream out of the freezer and let it sit at room temperature for 10-15 minutes to soften. You can also place it in the refrigerator for a few hours before reheating. Once softened, scoop the desired amount into a microwave-safe bowl and heat in 10-15 second intervals until warmed through.
Storing homemade ice cream is fairly simple. Keep it stored in an airtight container in your freezer for up to two weeks. When ready to serve, let it thaw out slightly and scoop away!
Although homemade ice cream is always best fresh out of the freezer, sometimes leftover ice cream can turn icy when kept too long. To combat this, mix in 1-2 tablespoons of instant pudding mix when mixing in with your ingredients at step 4. The pudding mix will absorb any excess moisture and keep your ice cream creamy even after storing.
Overall, making your own homemade ice cream is a great way to enjoy tasty desserts while also having control over what goes into them. With these storing tips and easy-to-follow recipe instructions, you’ll be enjoying delicious coffee-flavored or whatever flavors you like ice cream whenever you want!
Tips for Perfect Results
As someone who has made this homemade ice cream recipe many times, I’ve run into some common snags and have found some tips and tricks to help achieve perfect results.
Firstly, the key to making perfect ice cream is achieving the perfect consistency. To do this, make sure you have enough ice and rock salt. Without these two ingredients in adequate amounts, your ice cream will not freeze properly. I recommend using larger coffee cans or even metal tin ice cream makers which can hold more ice and salt.
Another tip is to prepare all of your ingredients before you start mixing. This recipe moves quickly so you don’t want to be caught measuring ingredients while the mixture is already in progress.
When mixing the half-and-half mixture with the instant pudding mix, sugar and vanilla extract, make sure to follow the instructions carefully to avoid over or under mixing. Over-mixing can cause freezer burn and undermixing may lead to a grainy texture.
For added flavor, try incorporating coffee-flavored ice cream by dissolving instant coffee into the half-and-half mixture at the beginning stages of preparation. You can also add crushed chocolate or chopped nuts for extra texture.
Lastly, when packing the smaller coffee cans with the ice cream mixture, make sure they are filled only halfway to allow room for expansion as they freeze. Don’t forget to secure duct tape around the lids before placing them in layers of ice and rock salt.
Follow these tips for perfect homemade ice cream every time!
FAQ
Now that we have gone through the ingredient list, recipe how-to, and tips for perfect results, it’s time to address some frequently asked questions about this homemade ice cream recipe. So, let’s dig in and see if we can solve any lingering doubts you may have.
Can I cook in a coffee can?
After consulting with the Canned Food Information Council, it has been verified that utilizing coffee cans for baking purposes is considered a safe practice. This information was obtained on January 12, 1989.
Can you put ice cream in coffee as creamer?
When it comes to coffee, using ice cream as a sweetener can be a game changer. Essentially, ice cream is made from frozen milk and sugar – the same ingredients that are often added to coffee. Simply adding a spoonful of ice cream (bonus points for chocolate flavor!) and giving it a good stir can take your coffee to another level. This easy trick can make your morning cup of joe feel like a special treat.
Will instant coffee dissolve in ice cream?
If you’re looking for a smooth, creamy ice cream without any gritty texture, try dissolving some coffee powder into your base mixture. Although the ice cream won’t taste like a typical coffee-flavored treat, the powder adds a pleasant balance of flavor to the final product. Give this technique a try and see how it works for you!
What happens if you put ice cream in coffee?
There’s a simple and sweet way to keep your coffee chilled without diluting its flavor – switch out regular ice cubes for a scoop of your favorite sugary treat. Not only will it keep your brew cool, but it’ll also give it an extra burst of sweetness. If you’re feeling adventurous, you can even mix in some espresso to give it a little extra kick. It’s like having a dessert and coffee all in one!
Bottom Line
Homemade ice cream in a coffee can recipe is the perfect activity to do with your kids or just to treat yourself on a hot summer day. With this recipe, you can make delicious and creamy ice cream without any special equipment. Plus, by using simple ingredients like half-and-half, sugar, and instant pudding mix, you can easily customize your ice cream with various flavors and toppings.
If you haven’t tried making homemade ice cream before, I highly recommend giving this recipe a try. Not only will you have fun creating your own flavors, but you’ll also appreciate the delicious taste of freshly made ice cream. So don’t hesitate to gather some coffee cans, rock salt, and ice cubes – it’s time to make some sweet memories!
Homemade Ice Cream in a Coffee Can Recipe

Not sure how much sugar to use cause it says 1/3 cup AND 2 T. not sure if that was a mistake, and if not, why are they listed separately? Wondering if I put them both in at different times or?? Plz let me know cause I’m real excited to try this recipe!!!
- 1/2 cup rock salt
- 1 pint half-and-half
- 1 1/2 teaspoons vanilla
- 1/3 cup sugar
- 2 tablespoons sugar
for flavored ice cream
- 3 tablespoons of your favorite flavor instant pudding mix
- 1/3 cup fruit (such as, bananas, strawberries, peaches)
- 3 of your favorite cookies, crushed into pea-size pieces
- 1/4 cup finely chopped nuts
- Additional supplies needed: A 1 lb coffee can and a 3 lb coffee can.
- Mix the first three basic ingredients together (not including rock salt) and pour into the one pound coffee can. Add flavorings if desired. Place the lid on securely and set inside the three pound can.
- Add ice, and alternate layers of ice and salt outside the small can and inside the large can. When totally full, secure the lid on the large can. You may wish to add duct tape for good measure.
- Now here comes the fun part! Place a sheet on the floor or wrap the can in a large towel. Let party guests roll the can back and forth for at least 10 minutes. Open the cans and check the ice cream.
- If it is not starting to freeze, replace lids and roll 10 minutes more. The ice cream should be frozen to the sides and bottom of the can. If not thick enough, place in freezer and check every 10 minutes or so.
- Note: This recipe can be effected by temperature, humidity, and other environmental factors, so make a trial run before attempting in a group setting.
[custom-related-posts title=”Recommended Recipes Just For You” none_text=”None found” order_by=”date” order=”ASC”]