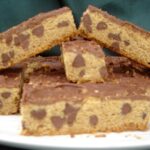
Delicious Peanut Butter Bars for a Sweet Treat
The school cafeteria peanut butter bars. The mere mention of it conjures up memories of school lunches, and the sweet, chewy goodness that always hit the spot. It’s a timeless treat that has been adored by generations of students and lunch ladies alike. And now, I am thrilled to share with you the famous school cafeteria peanut butter bars recipe!
As a barista who loves creating delicious treats for my customers, I understand how much people love nostalgic desserts like these bars. And trust me, once you try this recipe, you’ll never look back! Not only are these bars easy to make at home, but they also require simple ingredients that can be found in your pantry.
With this recipe, you can relive those childhood memories or create new ones with your own family and friends. Draw inspiration from the atmosphere of an elementary school or put your own spin on it with additional toppings or frosting. The possibilities are endless!
So, without further ado, let’s dive into the beloved recipe for making the classic school cafeteria peanut butter bars!
Why You’ll Love This Recipe
Are you tired of the same old boring desserts? Do you crave a delicious treat that will bring back memories of your school cafeteria days? Look no further! I present to you the School Cafeteria Peanut Butter Bars Recipe.
Peanut butter lovers, rejoice! This recipe combines the perfect blend of creamy peanut butter and sweet brown sugar into delectable dessert bars that will leave your taste buds dancing with joy. Trust me, even if you are not a huge fan of peanut butter, these bars will make you a believer.
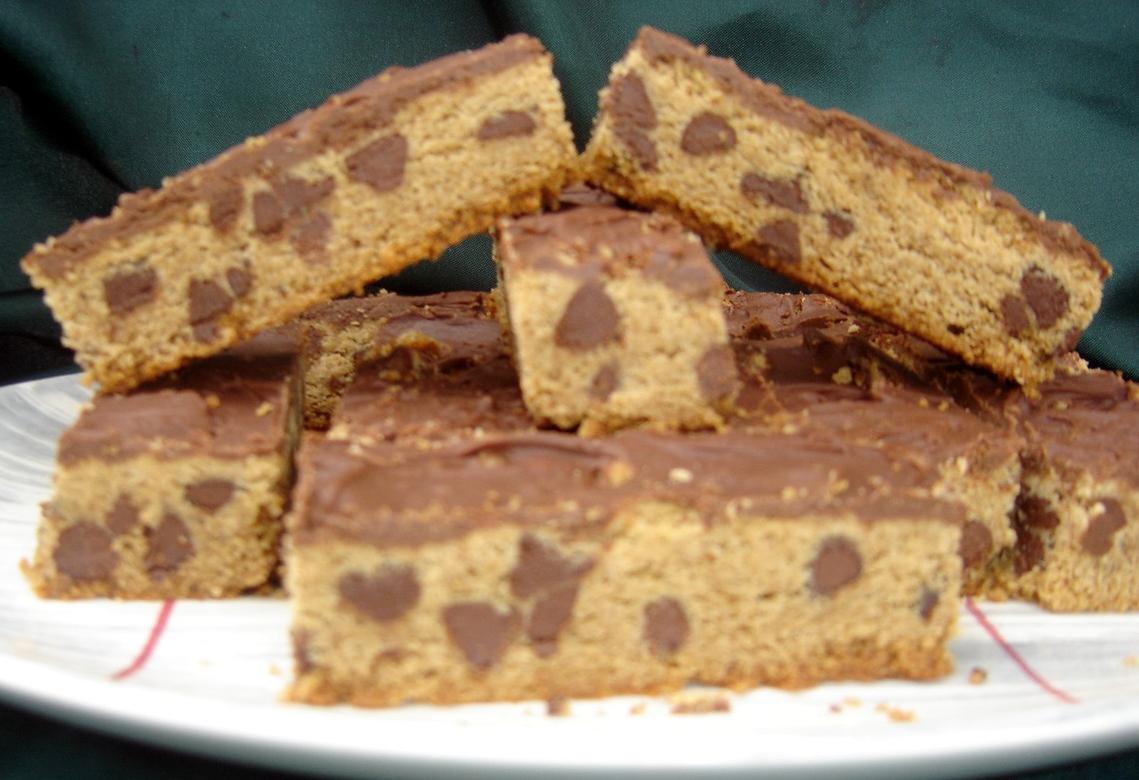
Not only are these bars easy to make with basic ingredients found in any pantry, but they also provide a great opportunity for experimentation. Add some chocolate chips or M&Ms to the batter for an extra dose of sweetness. Or, try drizzling some melted chocolate over the top for an indulgent touch. The possibilities are endless!
But let’s not forget the best part: nostalgia. For many of us, school cafeteria lunches bring back fond memories of childhood. This recipe will not only satisfy your sweet tooth but also transport you back in time to your elementary school days.
If you’re looking to impress your friends or satisfy your midnight snack cravings, this recipe is the perfect choice. It’s chewy, moist and downright heavenly. Don’t take my word for it; try it yourself and see why these Peanut Butter Bars have been a beloved lunch lady peanut butter squares recipe for generations!
Ingredient List
Get ready for a nostalgic trip to your school days with this famous school cafeteria peanut butter bars recipe.
Main Ingredients:
- 2 cups creamy peanut butter
- 1 cup butter, softened
- 1 teaspoon vanilla extract
- 1 cup dark brown sugar
- 1 cup granulated sugar
- 2 large eggs
- 3/4 cups all-purpose flour
- 1 teaspoon baking soda
- 1/2 teaspoon salt
For the Peanut Butter Filling:
- 4 cups powdered sugar
- 1/2 cup butter, softened
- 2 cups creamy peanut butter
Optional Chocolate Topping:
- 1 bag (11.5 oz) milk chocolate chips
- 1 bag (11.5 oz) semi-sweet chocolate chips
Additional Variations
You can add different toppings as per your preference or to create variations in the recipe, like some crushed chocolates or chopped peanuts on top of the chocolate layer.
This recipe quantity serves around 24 bars and perfect for a quick snack or dessert for a small gathering or family get-together. Make sure you measure all the ingredients correctly to achieve those chewy peanut butter bars that will melt in your mouth!
The Recipe How-To
https://www.youtube.com/watch?v=dmd-5lzgPAY
Now comes the fun part, let’s start making these delicious cafeteria peanut butter bars!
Preparing the Batter
Step 1: Mixing the Dry Ingredients
In a large mixing bowl, combine 2 cups all-purpose flour, 1 teaspoon baking soda, and ½ teaspoon salt. Use a fork or a whisk to mix well.
Step 2: Creaming the Butter and Sugars
In a separate large mixing bowl, cream together 1 cup unsalted butter and 1 cup granulated sugar until it becomes light and fluffy. Gradually add in 1 cup dark brown sugar, making sure to mix well in between.
Step 3: Adding the Eggs and Vanilla Extract
Next, mix in 2 large eggs one at a time while stirring to combine after each addition. Add in 1 teaspoon vanilla extract and continue to stir until well incorporated.
Step 4: Combining the Wet and Dry Ingredients
Gradually add the dry ingredients mixture into the wet ingredients mixture while stirring continuously until well incorporated. The batter should be smooth and without any clumps.
Baking
Step 5: Adding Peanut Butter Mixture
In another bowl, mix together 1 can sweetened condensed milk, ¾ cups creamy peanut butter, and ½ cup unsalted butter softened until combined.
Step 6: Assembling the Peanut Butter Bars
Take a 9×13 inch baking dish and spread half of the cookie batter at the bottom of it. Next, spread the peanut butter mixture over the cookie batter. Finally, add in remaining cookie batter, making sure it covers evenly on top of the peanut butter layer.
Step 7: Bake and Cool
Bake in preheated oven at 350°F (175°C) for about 25-30 minutes or until lightly golden brown around edges. Take out of oven when done and leave it to cool for around an hour before cutting into bars.
Now you have perfectly chewy peanut butter bars!
Substitutions and Variations
One of the great things about this school cafeteria peanut butter bars recipe is that it’s versatile, making it easy to adapt to your taste or needs. Here are some substitutions and variations you can try out:
– Flour substitute: Instead of regular flour, try using almond flour or coconut flour for a different texture and flavor.
– Peanut butter type: While creamy peanut butter is recommended, you can certainly use chunky peanut butter for an even more textured bar. You may also opt for natural peanut butter instead of commercial brands, which often contain added sugar and preservatives.
– Sugar ratio: If you prefer a sweeter flavor, increase the amount of granulated sugar to 1 and 1/2 cups, or add a few tablespoons of honey or agave syrup. Alternatively, reduce the amount of sugar by half if you’re looking to make it healthier.
– Add-ins: Feel free to throw in some chocolate chips, chopped nuts, or shredded coconut into the batter before baking. You can also drizzle melted chocolate over the bars once they’re cooled down for an extra decadent treat.
– Gluten-free: To make this recipe gluten-free, simply swap out the regular flour with gluten-free all-purpose flour, and ensure all other ingredients used are certified gluten-free.
– Vegan version: If you’d like to make this recipe vegan-friendly, substitute the eggs with flax eggs (1 tablespoon ground flaxseed mixed with 2.5 tablespoons water per egg), and use vegan butter in place of regular butter.
Remember, experiment with different substitutions to find what works best for you. Just be mindful that changing certain ingredients may impact the texture and bake time for the bars.
Serving and Pairing
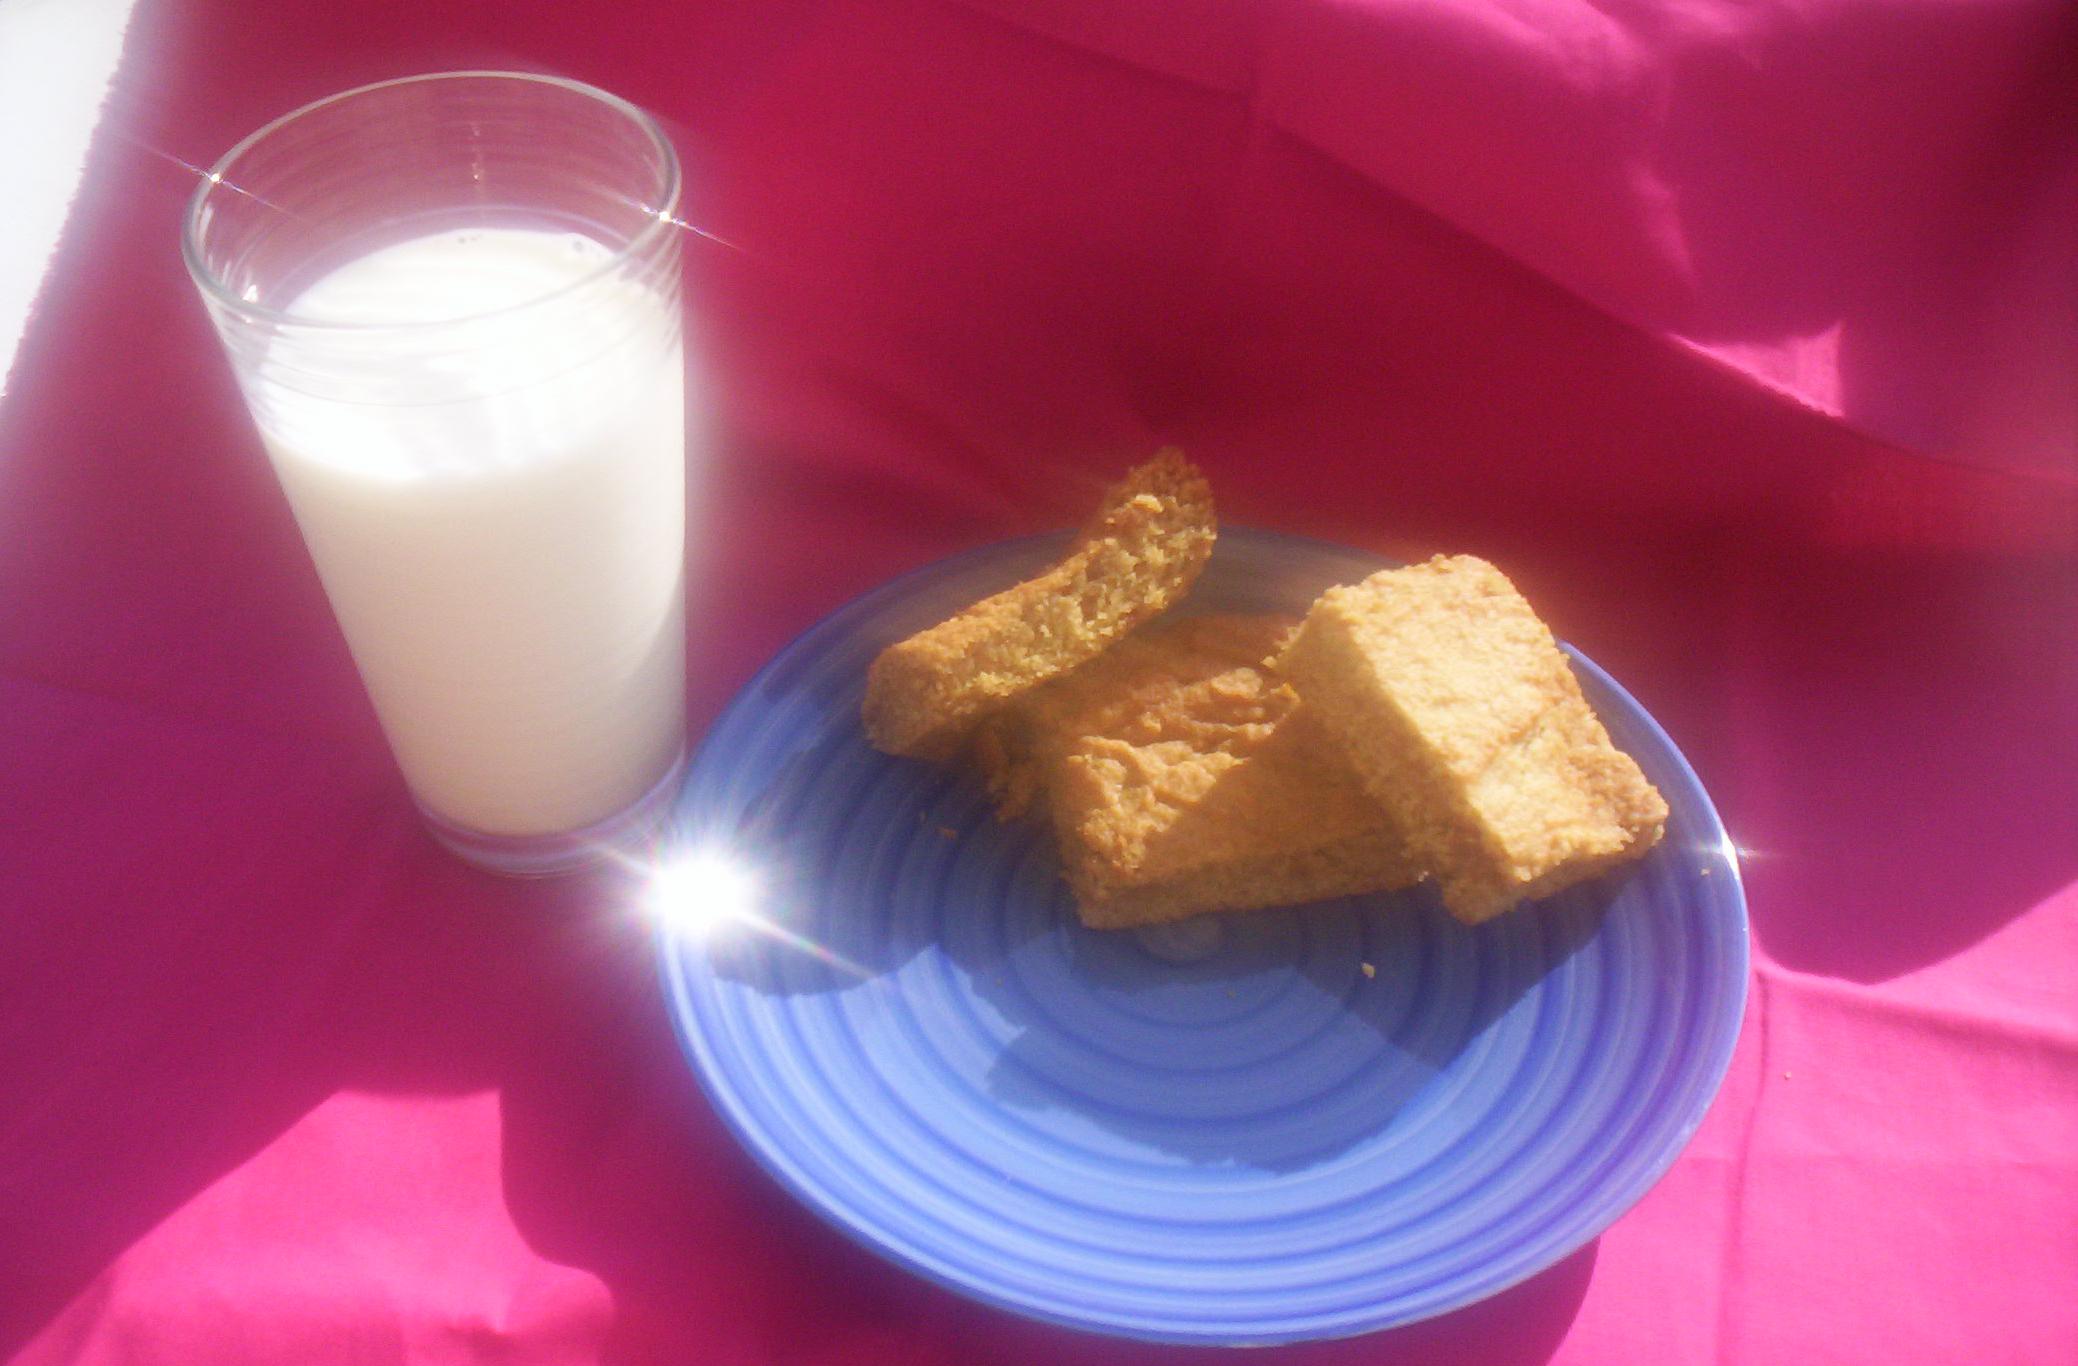
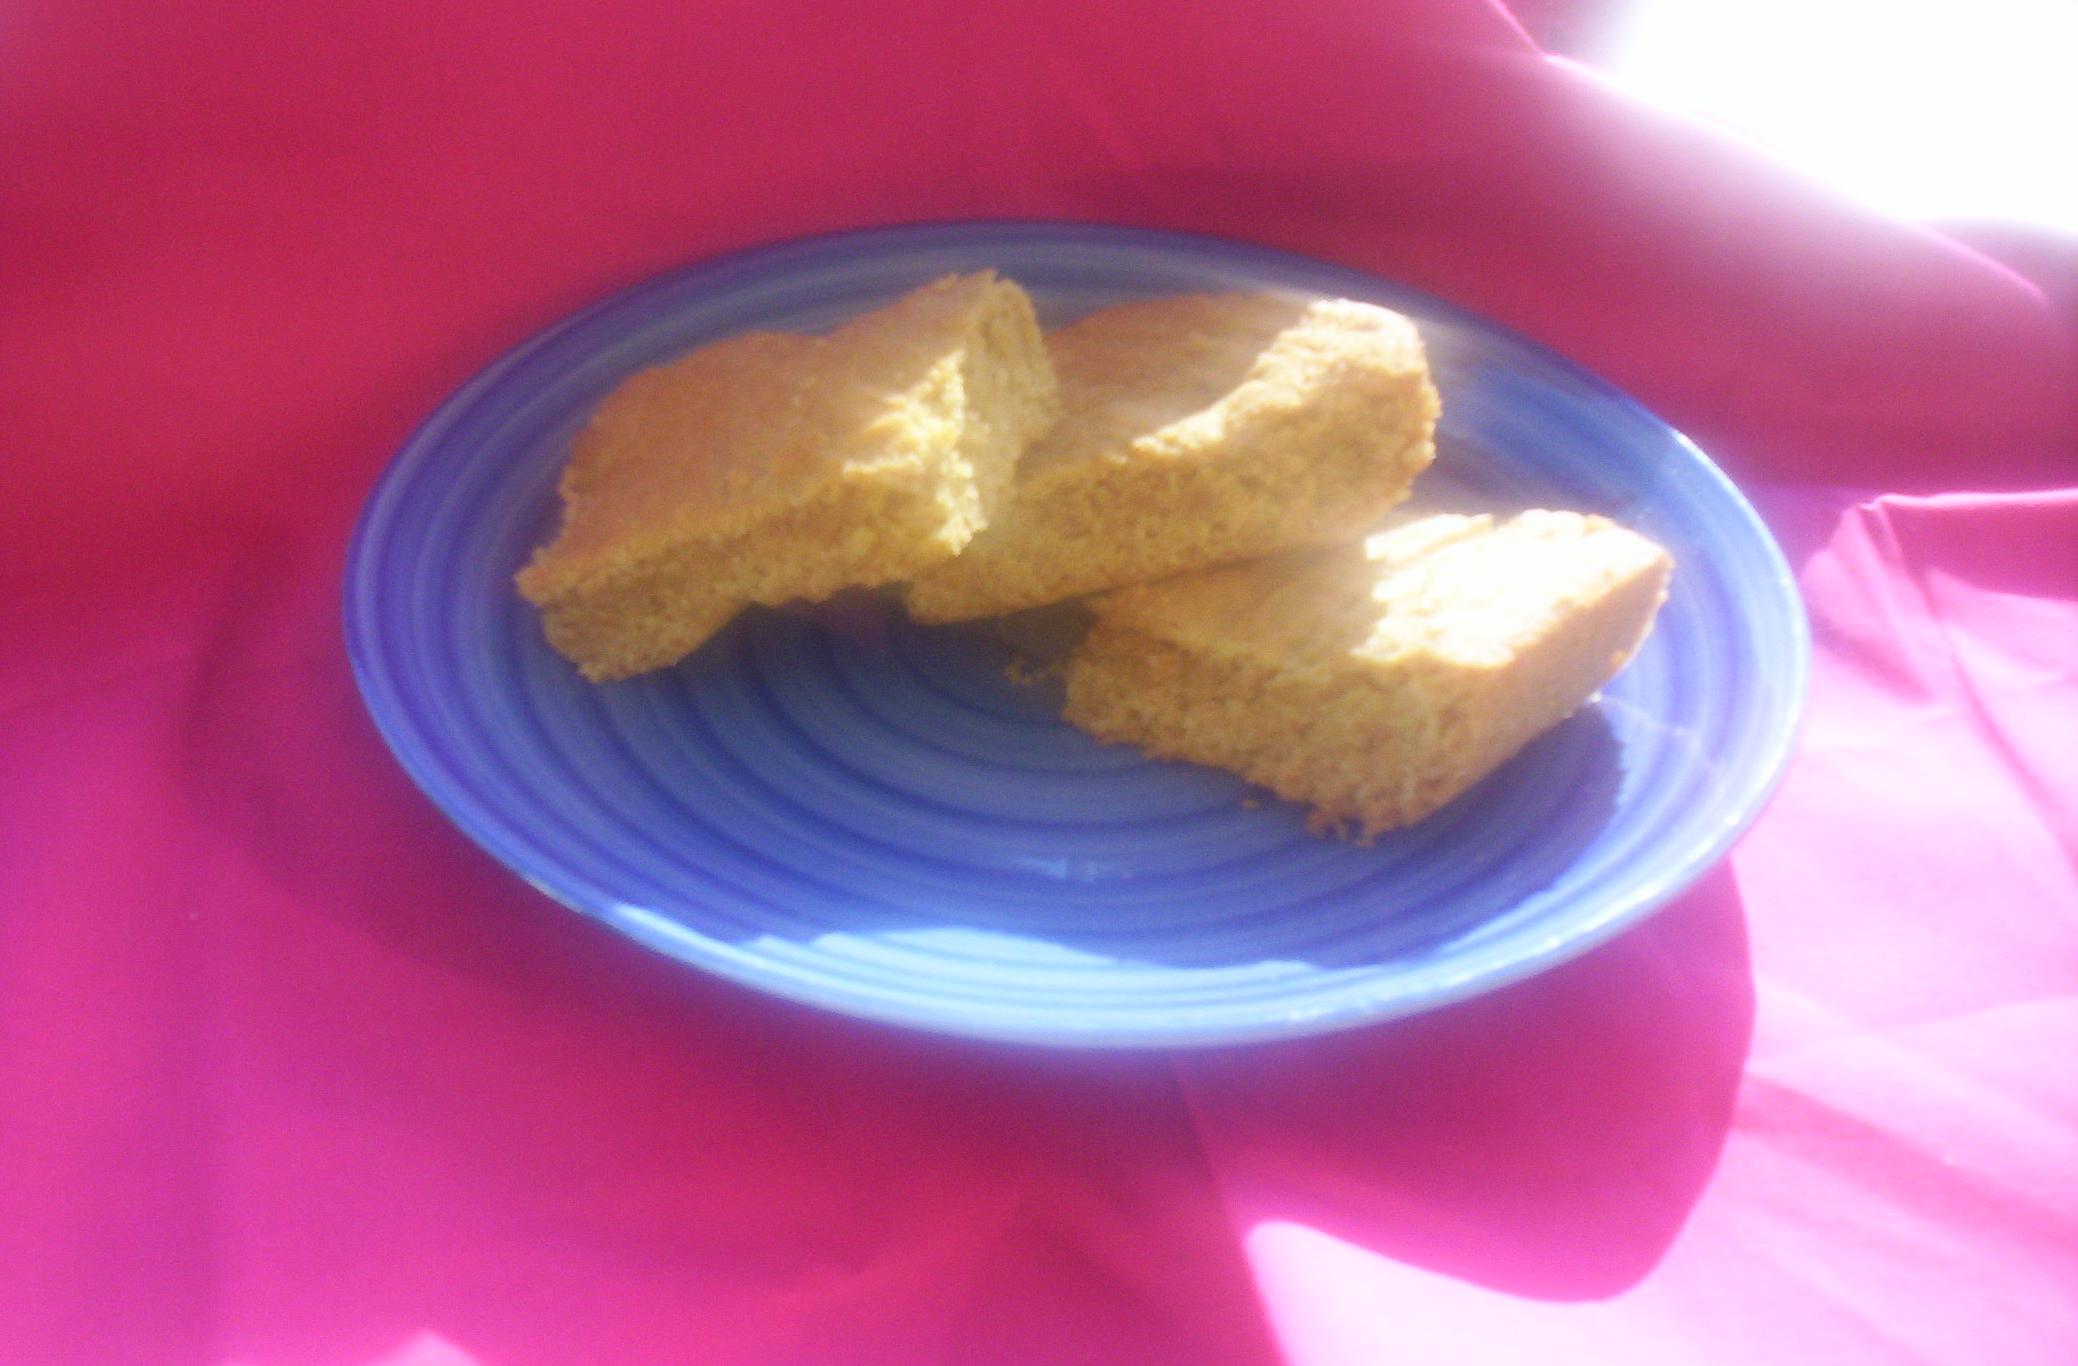
These peanut butter bars are a delicious treat perfect for any occasion! Serve them as an after-school snack or as a dessert, and pair them with a cold glass of milk or a hot cup of coffee.
For an extra special treat, top the bars with some whipped cream and chocolate syrup, or sprinkle on some chopped peanuts for added texture. These bars also pair nicely with other classic dessert recipes, such as chocolate peanut butter cake, butter chews or even no-bake oatmeal bars.
In fact, at the elementary school where I first tried these famous school cafeteria peanut butter bars, they were often served alongside graham cracker crumbs and chocolate frosting to create custom cookie bars that tasted like s’mores!
With their chewy peanut butter texture and sweet flavors, these cafeteria peanut butter bars are sure to become one of your new favorite dessert recipes. And with so many pairing options available, you can switch things up and create endless tasty combinations!
Make-Ahead, Storing and Reheating
When it comes to make-ahead options, these school cafeteria peanut butter bars are perfect for those who like to plan ahead. You can easily make them a day or two before serving and store them in an airtight container at room temperature. This way, you’ll have one less thing to worry about on the day of your event or gathering.
Alternatively, you can also freeze them for later use. Simply wrap each bar in plastic wrap and then store them in a freezer-safe container. They’ll last for up to 3 months in the freezer without compromising their taste or texture.
When reheating these buttery peanut butter bars, there are several options you can try. If you’re serving them fresh out of the oven, allow them to cool down to room temperature for about 15 minutes before digging in. However, if you’re reheating them from frozen or simply want them warmed up, there are a few ways to go about it.
One easy option is to pop them into the microwave for about 10-15 seconds per bar on high heat. Another option is to reheat them in the oven by placing them on a baking sheet and baking at 350°F for 5-7 minutes until heated through.
No matter how you decide to store or reheat these chewy peanut butter bars, they’re guaranteed to be a hit with anyone who tries them. So go ahead and enjoy this classic school cafeteria recipe at home with your loved ones!
Tips for Perfect Results
First and foremost, make sure that your butter is softened before using it in the recipe. If your butter is too cold or too melted, your peanut butter bars will not come out as expected.
When adding the dry ingredients to the wet mixture, take care not to overmix. Overmixing the ingredients can result in a tough and dense bar, rather than a chewy and soft texture.
For those who prefer their peanut butter bars on the sweeter side, adding powdered sugar to the top of the bars once they’ve cooled is a great option. It also gives the bars an added touch of sweetness that perfectly complements the peanut butter flavor.
If you are looking for an alternative to using all-purpose flour, you can try substituting it with oat flour for a slightly different texture. You can also use graham cracker crumbs instead of flour in this recipe to add a hint of sweetness and a crunchy texture.
Another tip to keep in mind is that you can easily double the recipe if you are making these bars for a larger group. Simply follow the same steps, but use twice as many ingredients.
Lastly, if you are feeling experimental, try adding chocolate chips or drizzling melted chocolate over the top for a delicious twist on this classic recipe.
By following these tips, you’ll end up with perfect chewy peanut butter bars that are sure to be a hit at any gathering or event!
Bottom Line
In conclusion, this school cafeteria peanut butter bars recipe will fill your taste buds with sweet and salty goodness. It’s a classic recipe that has been loved by generations and can now be enjoyed in the comfort of your own home. Whether you’re a fan of peanut butter or just looking for a delicious dessert to enjoy, this recipe is sure to impress.
By following our detailed instructions and tips, you’ll be able to create perfect bars every time. Feel free to experiment with different variations and pairings, or even make-ahead for a quick grab-and-go snack. No matter how you choose to enjoy them, these bars will never disappoint.
So why not relive your school lunch memories with these chewy peanut butter bars? You won’t regret it! Share this recipe with your friends and family and enjoy the sweetness of simplicity at its finest.
School Cafeteria Peanut Butter Bars Recipe
Remember those flat peanut butter bars you used to get in your school cafeteria lunches? Well, here they are!
- 2 cups flour
- 1 teaspoon baking soda
- 1/4 teaspoon salt
- 1 cup butter
- 3/4 cup peanut butter (such as Jif or Skippy smooth or chunky, your choice, and NOT reduced fat, “natural peanut butter” no)
- 1/2 cup granulated sugar
- 1/2 cup packed dark brown sugar
- 1 teaspoon vanilla extract
- 1 egg
- 2 cups semi-sweet chocolate chips (optional)
- 1 cup milk chocolate chips (optional)
- Combine flour, baking soda, and salt and set aside.
- Cream together the butter, peanut butter, granulated sugar, brown sugar, and vanilla in a large bowl.
- Beat in egg.
- Gradually beat in flour mixture.
- (If you’d like, you can add 2 cups of semi-sweet chocolate chips to the mixture, but I know*my* school could never afford such luxuries as chocolate!) Spread batter into a 13x9x2 inch pan.
- Bake at 375F for 15 to 18 minutes.
- (If you’d like to go the extra mile past what your school could probably afford to make for your lunches, you can take 1 cup of milk chocolate chips and put them on the surface of the peanut butter bars just after you’ve removed them from the oven. The bar) Let the bars it cool in the pan on a rack then cut into bars.
- Enjoy!
- Note: reduced fat peanut butter for this recipe is not recommended, as it might make the bars drier than you’d like.